


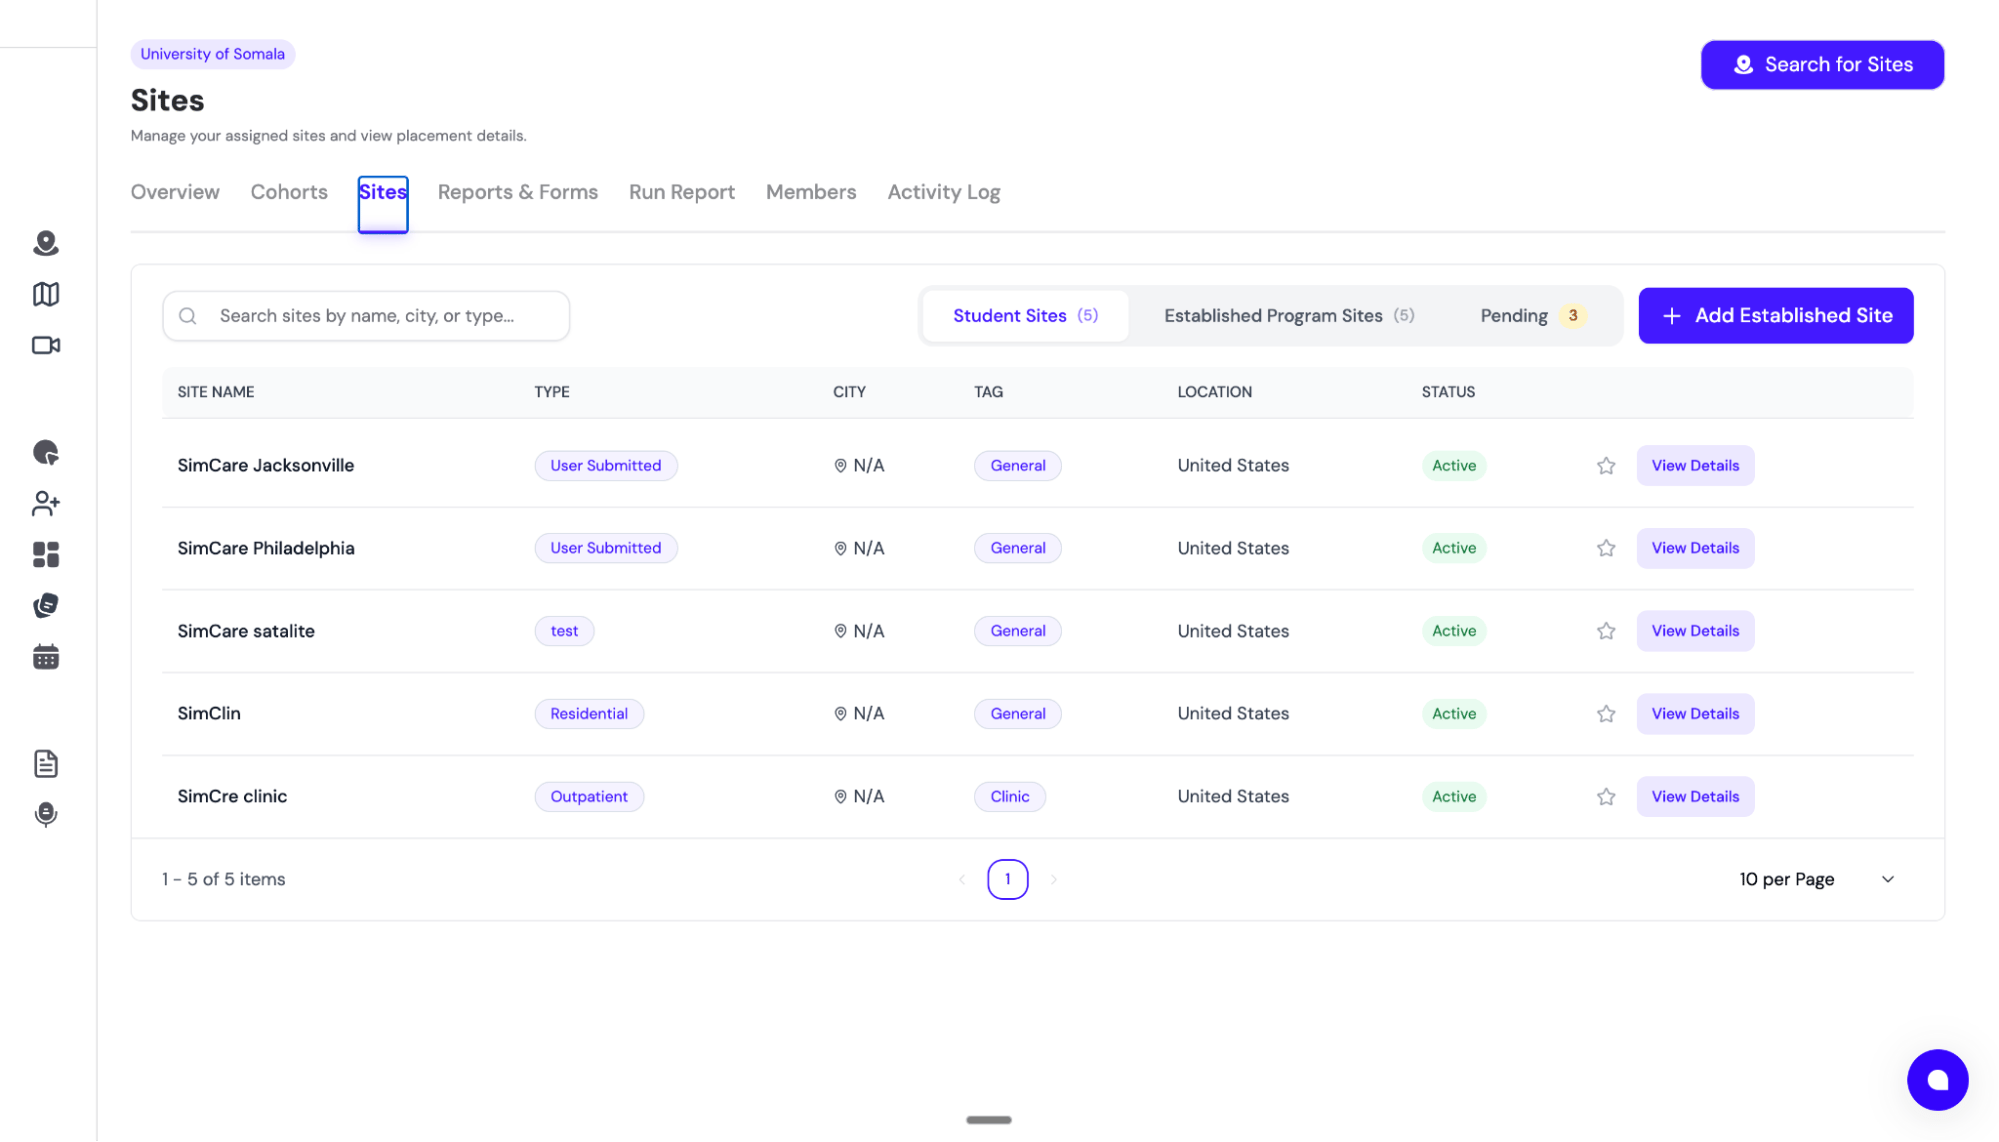
The three site sub-tabs
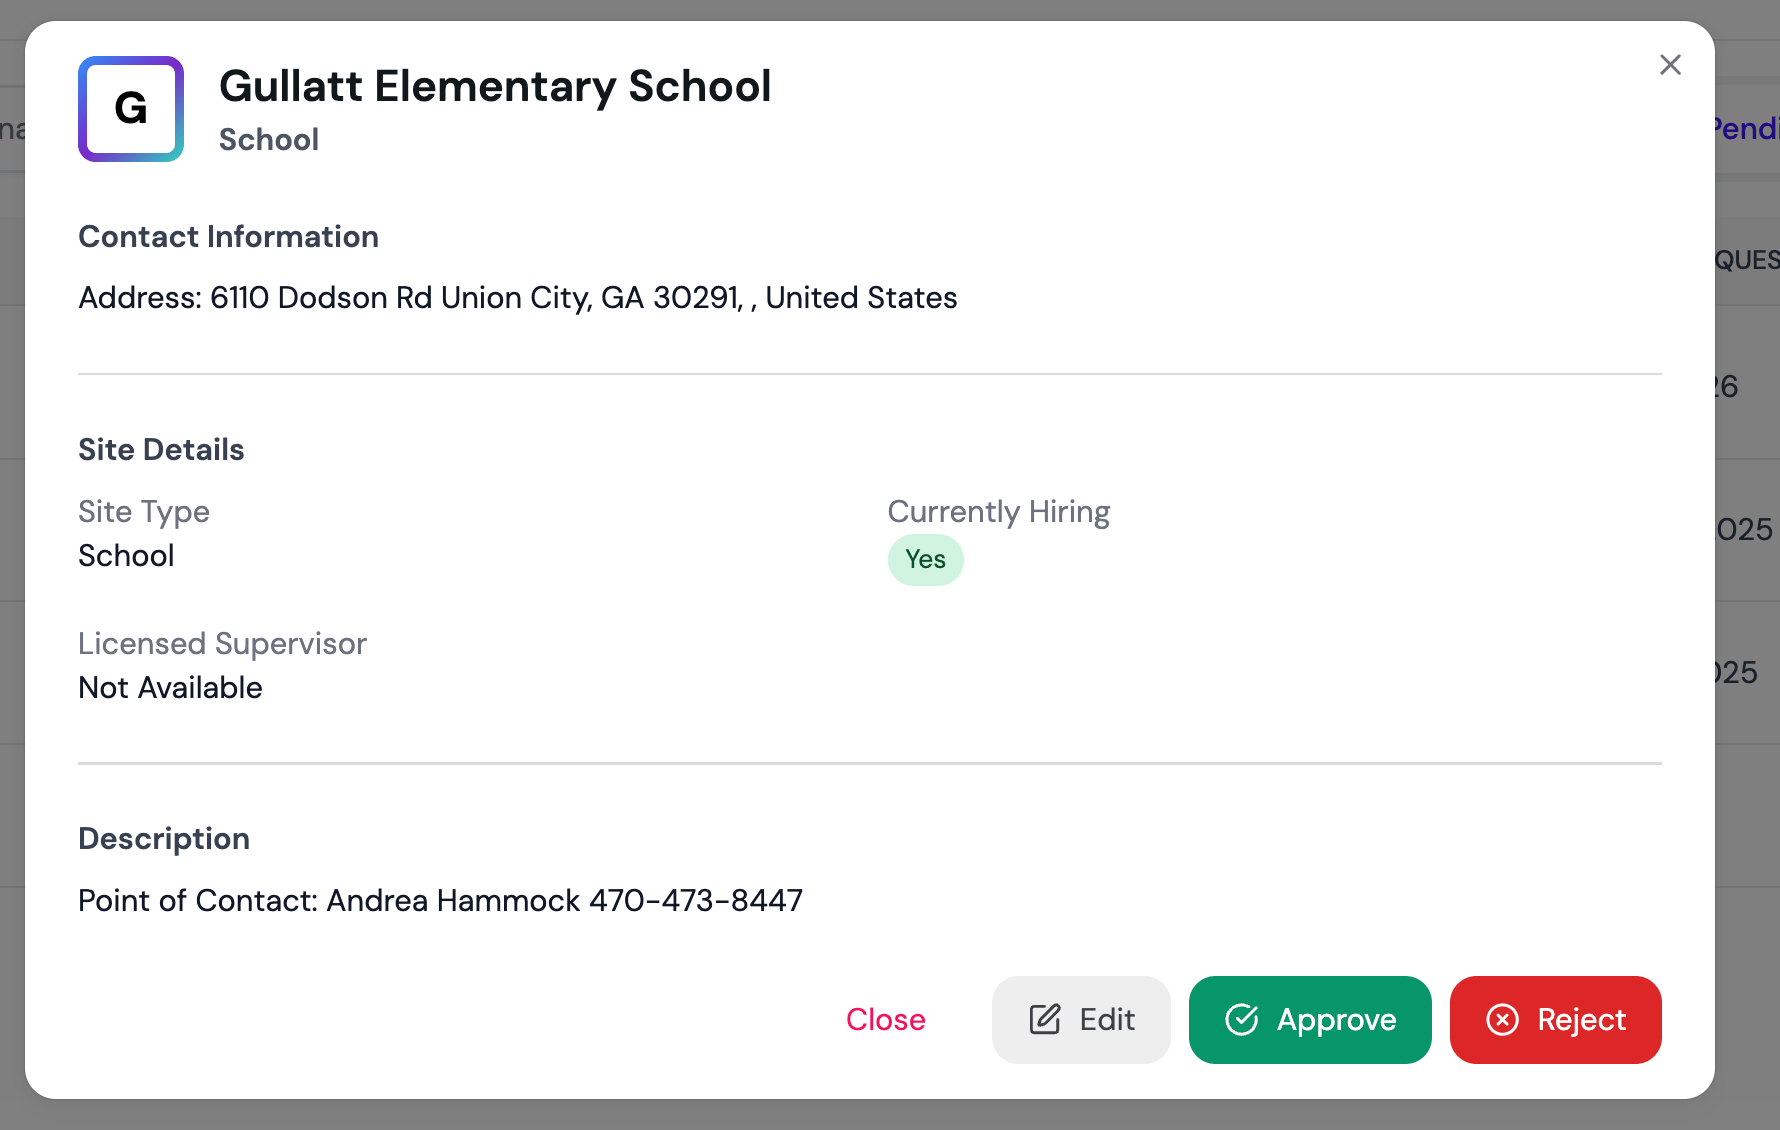
Approving new site requests
Click any row in the Pending sub-tab to open the Site Details modal. You can:- Approve — adds the site to your Established list
- Reject — rejects the request with a note for the student
- Edit — adjust the site details before approving
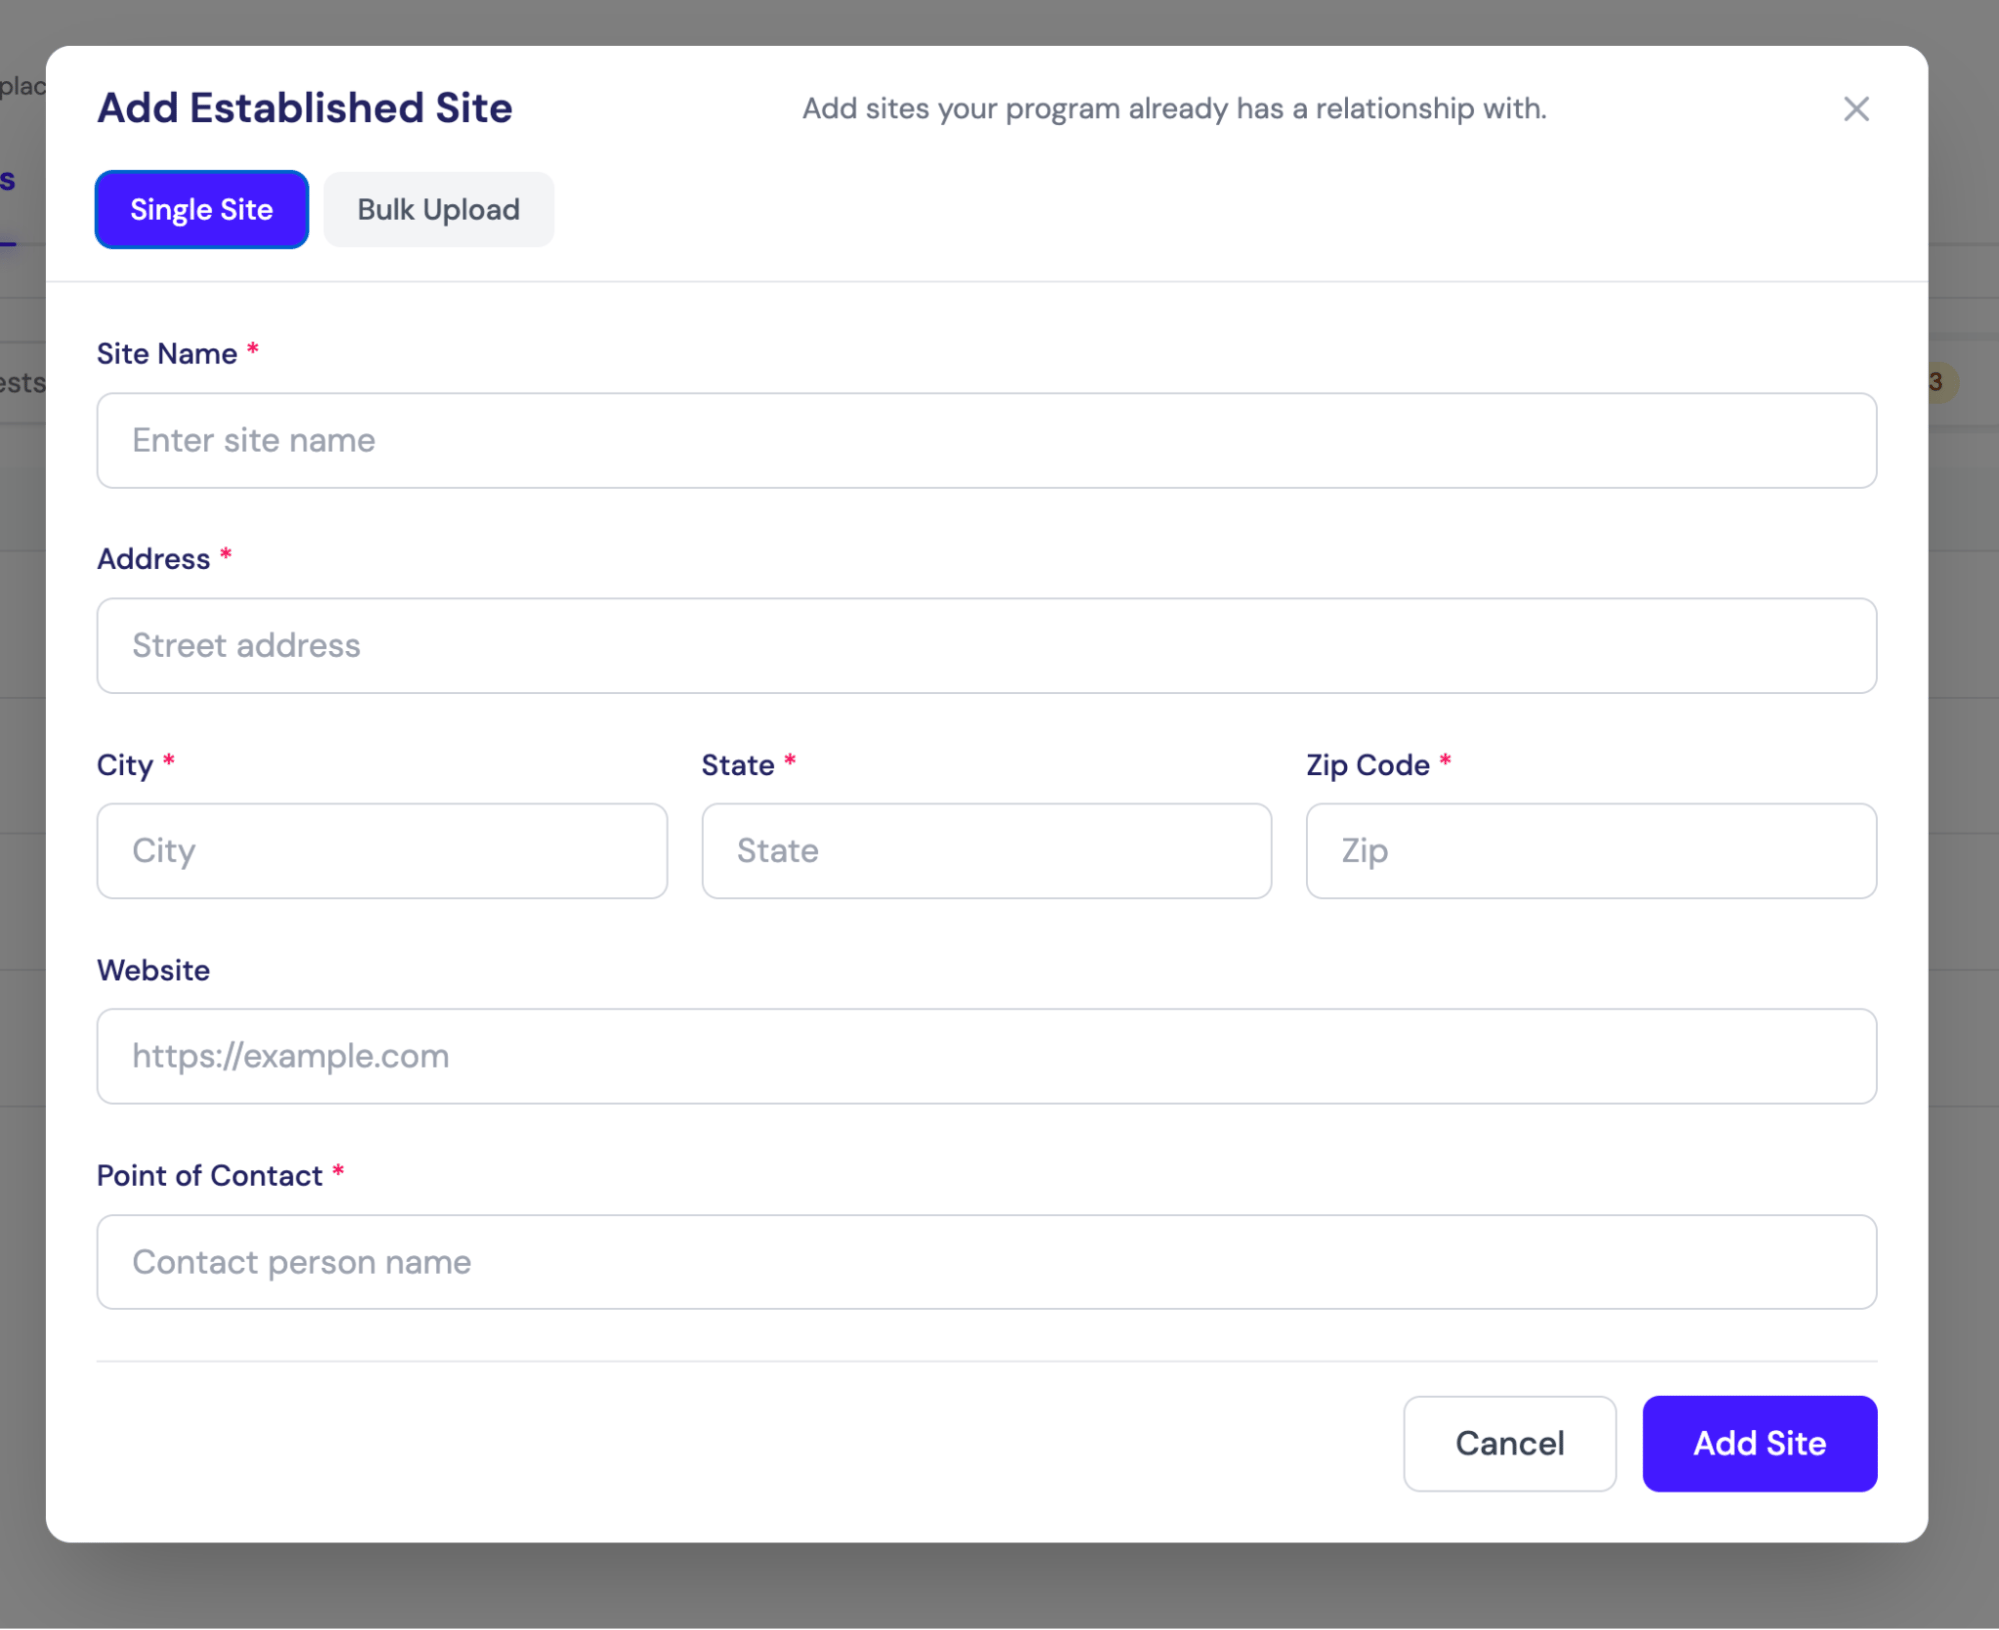
Adding established sites yourself
Click Add Established Site in the top right to open the Add Site modal. Two tabs:- Single Site — manually enter site details (name, address, type, tags, contact info)
- Bulk — upload a CSV, spreadsheet, or text file with multiple sites at once
Viewing site details and documents
Open a site to use Details, Supervisors, Students, and Documents, plus Notes and Evaluations where enabled. Documents contains Supervisor Forms and Uploaded Files, with different filters, statuses, and PDF actions. See Site Details & Documents for the full tab-by-tab guide.Removing a student or supervisor from a site
Program Admins and faculty can end an active placement without deleting the historical record. Open a site row to launch the Site Details modal, then use the Students or Supervisors tab. Remove a student from a site- Open Site Details → Students → Active.
- Open the student’s action menu and select Remove from site.
- Review and confirm in the inline panel.
- Open Site Details → Supervisors.
- Click the actions menu (⋮) on the supervisor’s row and select Remove from Site (admin or faculty only).
- Confirm in the inline panel.
Both actions are reversible by re-adding the student or supervisor to the site — no historical data is destroyed.
All-sites map view
For programs with many sites, an interactive map view (with AI search and clustering) is available. Reach out to SimCare to enable it for your program.Next step: Create cohorts to organize students into classes or sections. See Setting Up Cohorts.