

Step-by-step guide
1
Go to app.simcare.ai
Visit app.simcare.ai in your browser.
2
Click "Create an account"
Click Create an account at the bottom of the login card.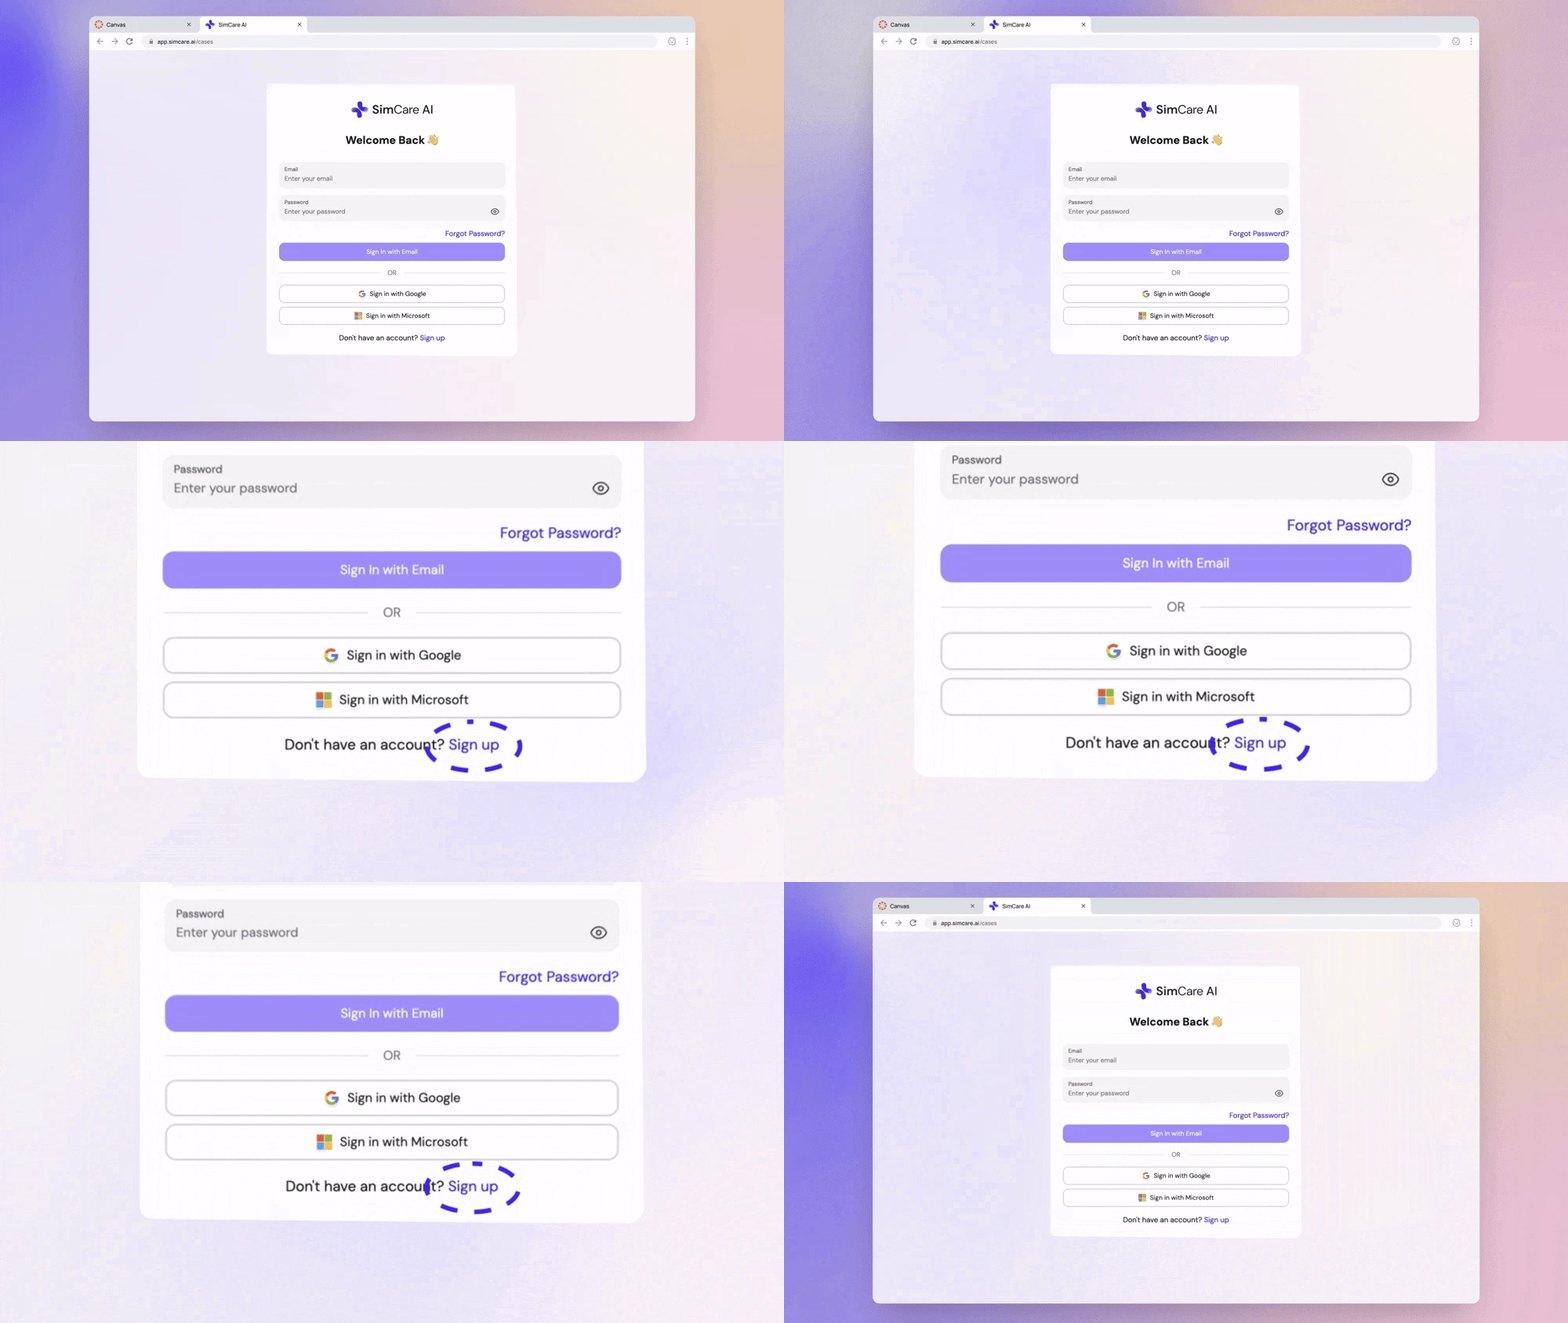
3
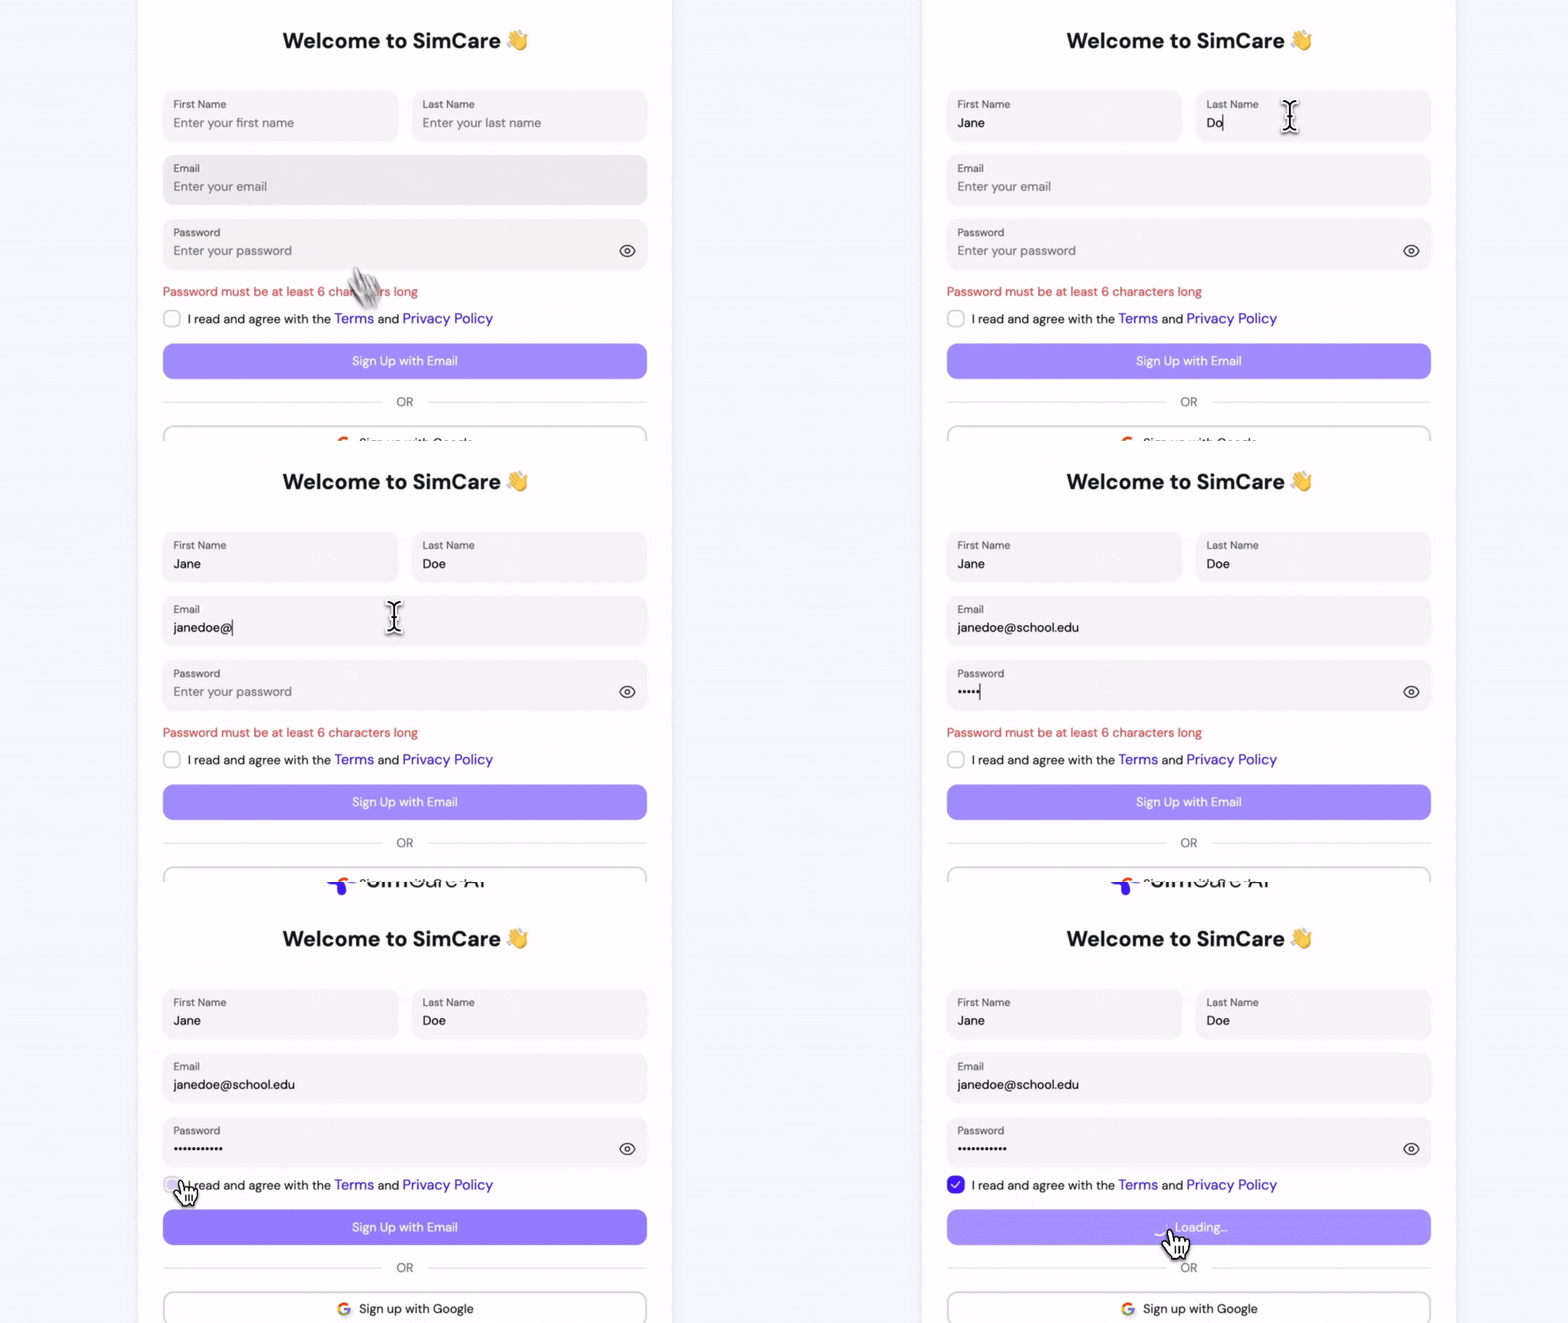
Fill in your details
Fill in the required fields:
- First name
- Last name
- School email
- Password (at least 6 characters)
- Continue with Google
- Continue with Microsoft
-
Continue with SSO (if your school uses single sign-on — type your school email and the SSO option appears)
4
Agree to terms
Check the box to agree to the terms and conditions.
5
Complete registration
Click Create your SimCare AI account to finish.If your school uses FieldX, you’ll be asked to verify your email before your account is created — see Verifying your school email below.
Verifying your school email
If you sign up with an email whose domain belongs to a FieldX program (for example, your.edu school address), SimCare sends a 6-digit verification code to that inbox before creating your account. This confirms you own the address before you’re auto-enrolled in your program. If more than one program uses your email domain, you’ll be asked to choose your program the first time you open Field Experience instead of being enrolled automatically.
1
Enter your details and submit
Fill out the sign-up form as usual. Instead of landing straight in the app, you’ll see a Check your email screen with a masked version of the address the code was sent to.
2
Open the email
Look for a message from
noreply@simcare.ai containing your 6-digit code. If you don’t see it within a minute, check your spam folder.3
Enter the code
Type the 6 digits into the code field. Your account is created and you’re signed in as soon as the code is accepted.
4
Resend if needed
If the code doesn’t arrive, click Resend code. There’s a short cooldown (about a minute) between resends.
Codes expire after a few minutes and lock after several wrong attempts. If your code expires, restart sign-up and a fresh code will be sent.
Signing in with SSO
If your institution uses Google Workspace, Microsoft 365, or a campus SSO provider, you don’t need a password — your school manages your login.- Type your school email on the sign-in page
- If your domain is recognized as SSO-only, the form replaces the password fields with a single Continue with SSO button
- Click it and you’ll be redirected to your school’s login
If you try to use a password on an SSO-only account, you’ll see a hint suggesting you sign in with SSO instead. Password resets are also blocked silently for SSO accounts — your password is managed by your school.
Magic-link sign-in
You can also sign in without a password using a magic link: enter your email, click Send magic link, and check your inbox. The link signs you in with a single click and works on any device.Joining a class
If your instructor sent you a class invitation link, click it to go straight to the Join class page. You’ll either sign in with an existing account (and be added automatically) or create a new account that gets attached to the class on the way in. If your instructor gave you an enrollment code instead, you’ll need an existing SimCare account first. Codes are entered from inside the app, not from the sign-up screen, so there’s no way to join a class with a code before you’ve created your account. Create your account using the steps above, sign in, then enter the code from within the app.Two-factor authentication
After you sign in, you can enable two-factor authentication from Account settings:- Email verification code — a 6-digit code is emailed each time your session expires (sessions last 24 hours). Recommended baseline.
- Authenticator app — use Google Authenticator, Authy, or any TOTP app to verify instantly. More secure than email.